This is the best vegan bacon you will find online! I make this one all the time, so I’ve tried to make it as streamlined as possible. There’s no extra white, “fat” dough you will find in a lot of other recipes.
It’s so easy! It all comes together in a food processor, then goes in the oven. It takes about a day in total to make, but almost all of that time is just waiting while it either cooks or firms up in the fridge.
Why does this recipe work?
This vegan bacon is made from seitan, or vital wheat gluten. Which has been used for centuries to create meat alternatives. Originating in China in the 6th century [1]. It has since become a staple of vegan substitutes.
It’s really quite easy to make! Once you have the basics down, you can make all sorts of meat substitutes.
This recipe combines a load of smokey and savoury flavours to make our vegan bacon really stand out when used dishes as your main protein.
Ingredient notes
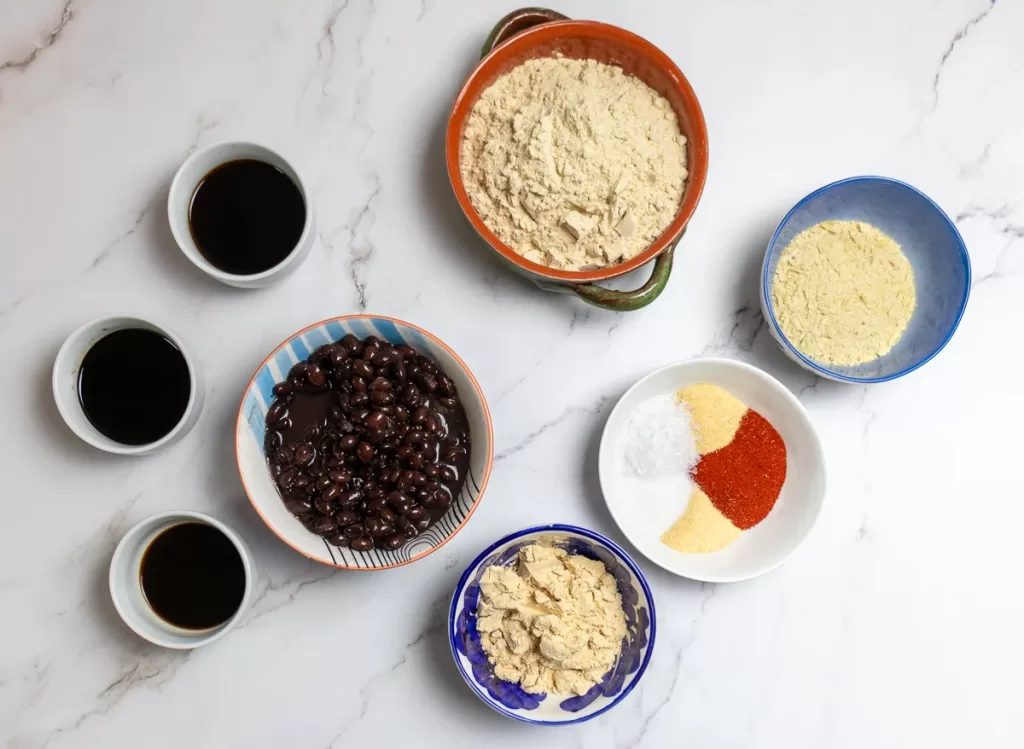
Black Beans – I like to try to include wholefood ingredients whenever possible in my recipes. The beans naturally add protein and fibre. Black beans are my favourite, but kidney beans also work really well here!
Vital wheat gluten – This is the main base of the recipe. You can of course, use the washed flour method to get the gluten out of the flour. But personally, I prefer using the vital wheat gluten. This was we can infuse flavours into the dry mix and have a deeper flavoured final product.
Pea protein – This just helps to create the perfect texture in the final product. It also bumps up the protein content of the bacon a fair bit. You can use soy protein instead if you have it, or even gram flour (chickpea flour), or just leave it out. If you do leave it out, you may need to add less water or add more vital wheat gluten to get the right consistency.
Nutritional yeast – A staple in vegan kitchens everywhere. It adds a savoury note the just adds to the savoury layers we’re building. There isn’t really a good substitute here.
MSG – This adds loads of umami flavour and it’s naturally found in all sorts of savoury foods! I know it can be a contentious ingredient. However, I use this fairly often and the fear surrounding was largely overblown [2]. Having said that, some people can be sensitive to it, so if that’s you or you simply don’t want to use it. Then leave it out. You can add a little more soy sauce instead. It won’t quite create the same depth, but it will work.
Light soy sauce – This is going to add loads of umami depth of flavour.
Dark soy sauce – Similar to the light soy sauce, it will add umami depth. But, it’s also going to add lots of caramel like sweetness to the recipe. If you don’t have it, I recommend picking some up as I use it all the time.
Liquid smoke – This is vital for this recipe. There aren’t many other recipes that I use this for to be honest, but I wouldn’t recommend leaving it out.
Smoked paprika – In a similar vein to the liquid smoke, this one should not be left out. It’s essential for adding the base smokiness to my vegan bacon.
Onion & garlic granules – These help to build on those layers of flavour. If you aren’t already using these in your cooking, I highly recommend picking some up.
Steps to make my vegan bacon
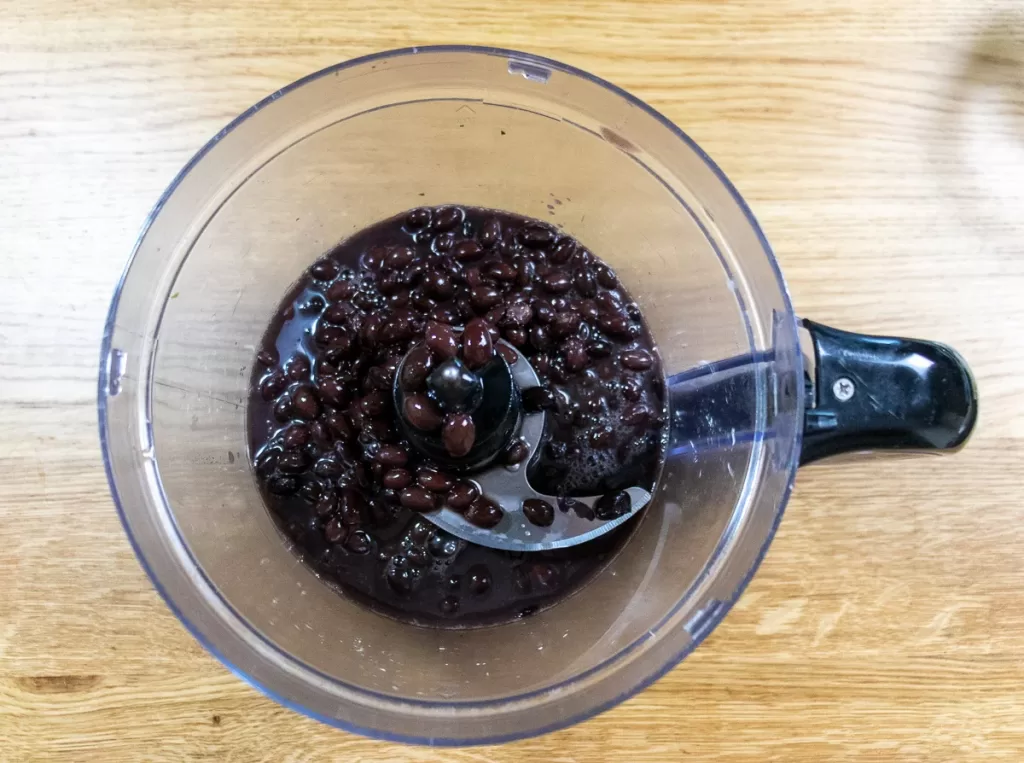
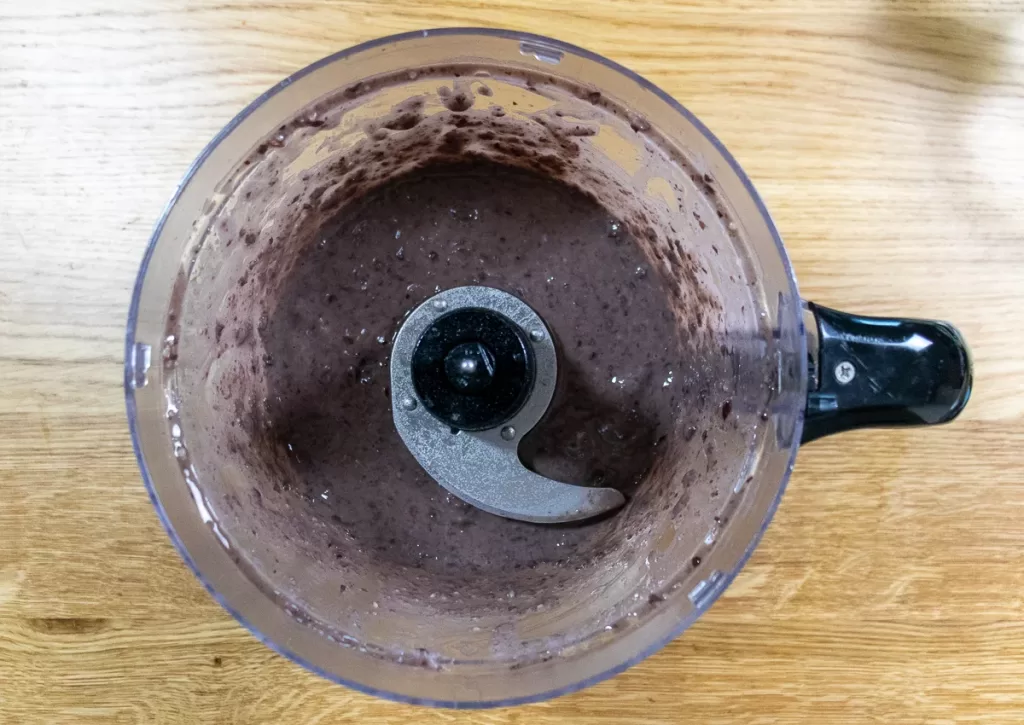
- Start by blending the beans along with their liquid into a smooth paste in your food processor. You can do this on the highest setting, just make sure to scrape the sides down a couple of times.
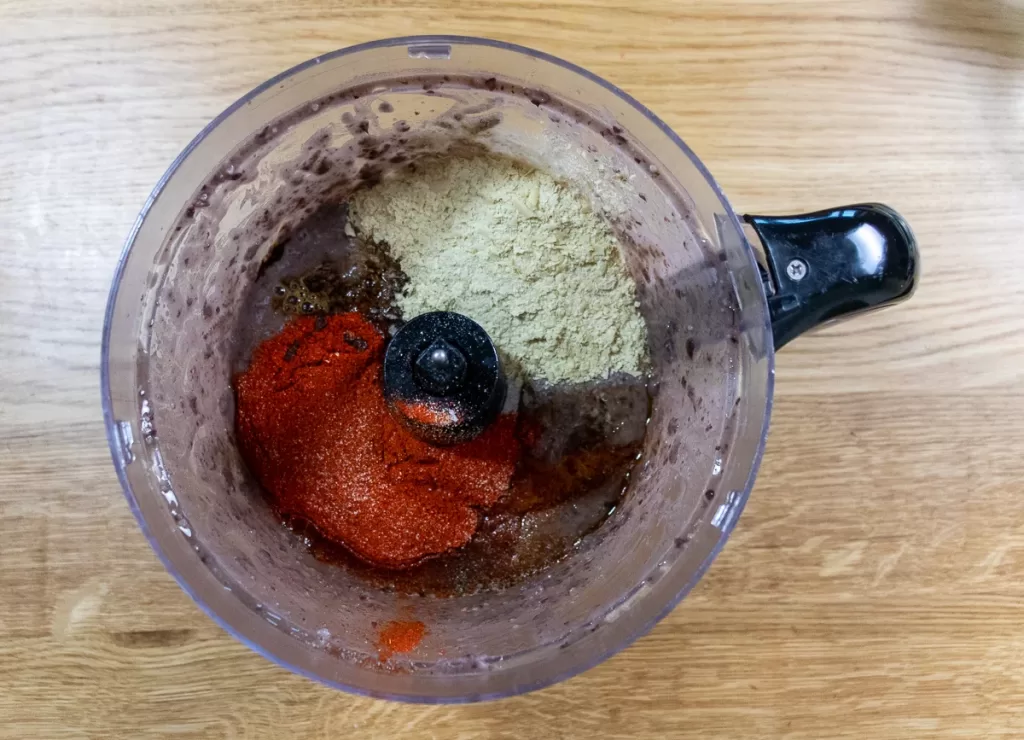
- Now add in all the dry ingredients except the vital wheat gluten. This time pulse until combined. Again, you will probably need to scrape the sides down occasionally.
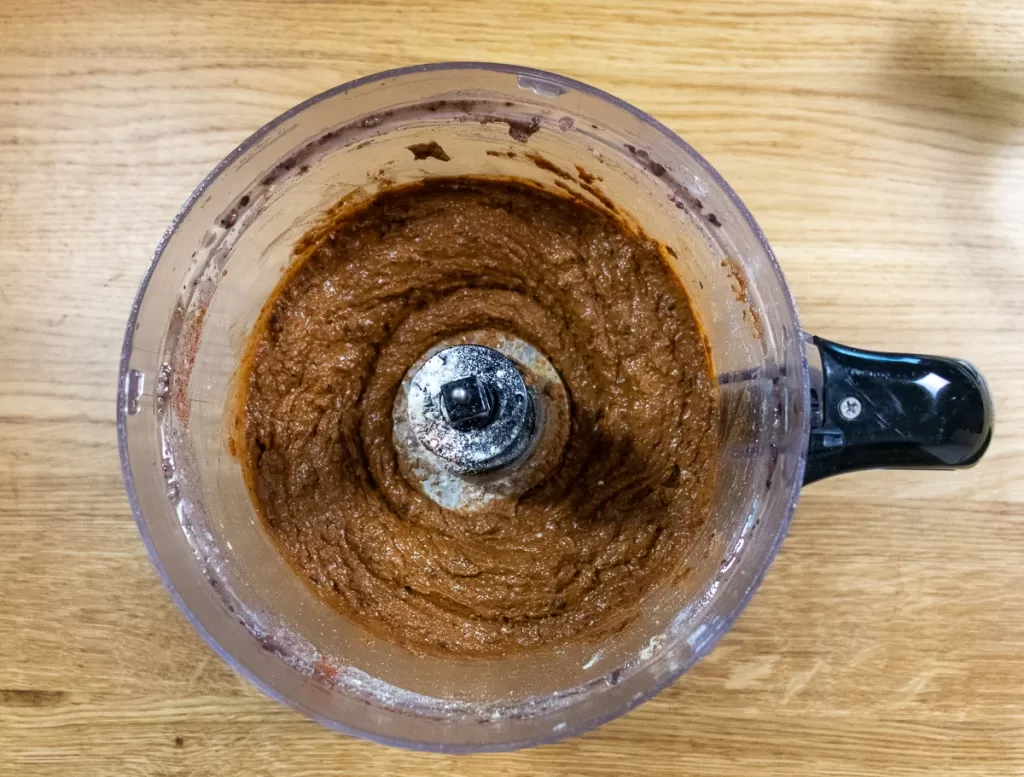
- Once combined, add the vital wheat gluten and pulse. This time it will make the mixture too dry so be careful not to over mix, otherwise you could damage your food processor.
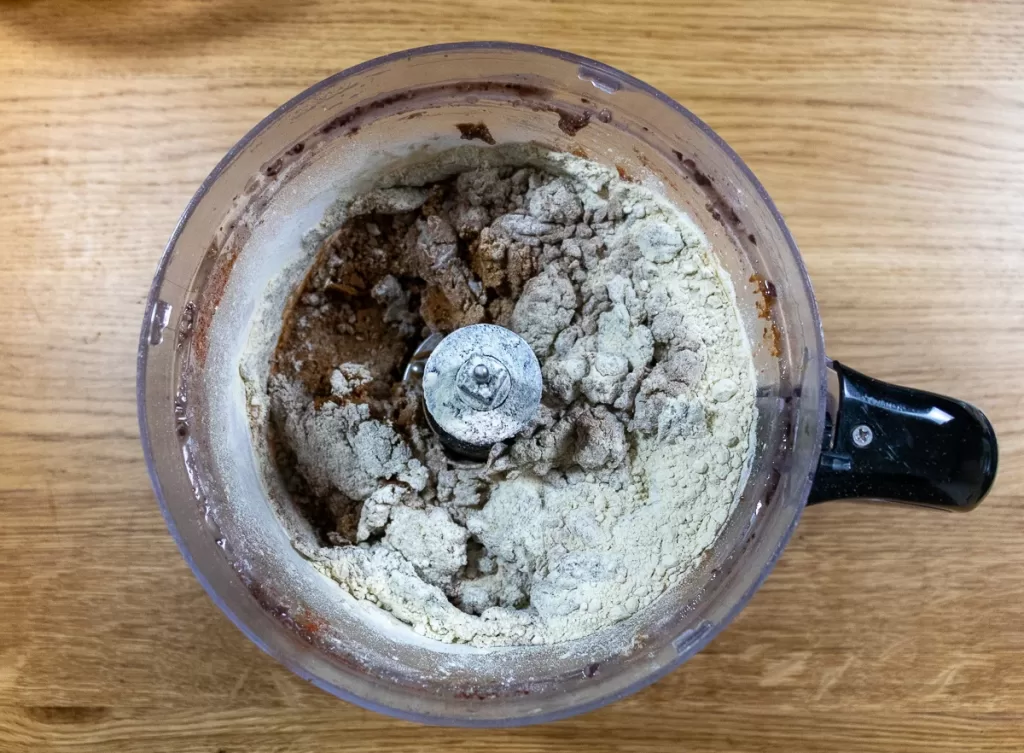
- Add in the water, but only 50g at a time. Add the water and mix until you get a dough starting to form. It is possible you won’t need all 200g of water. It really depends on how absorbent your protein powder and vital wheat gluten are.
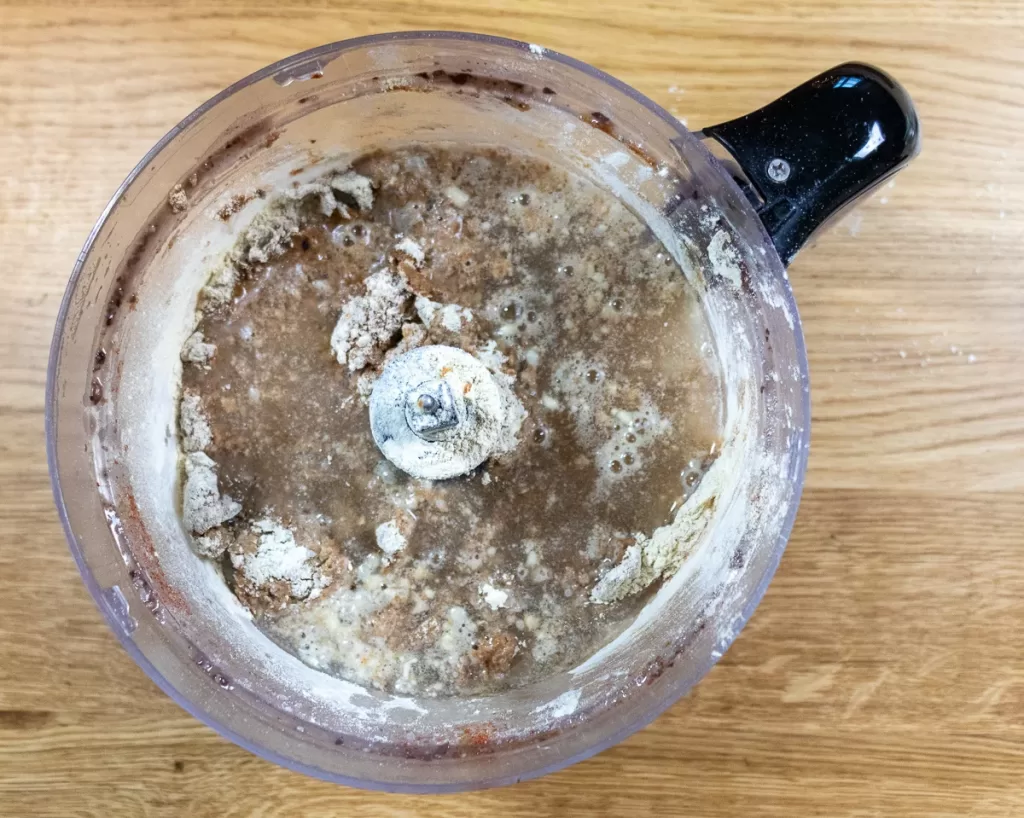
- Once you have a dough formed, continue to pulse it gently.
It is fairly hard on your food processor, so be careful! If you just let it run, there is a good chance it will break your food processor. But go slow, and you should be fine. I have quite a cheap one and I haven’t broken it yet!
- You should start to see it form little fibres, They will start to wrap themselves around the centre of the food processor. This is when you know it’s pretty much ready.
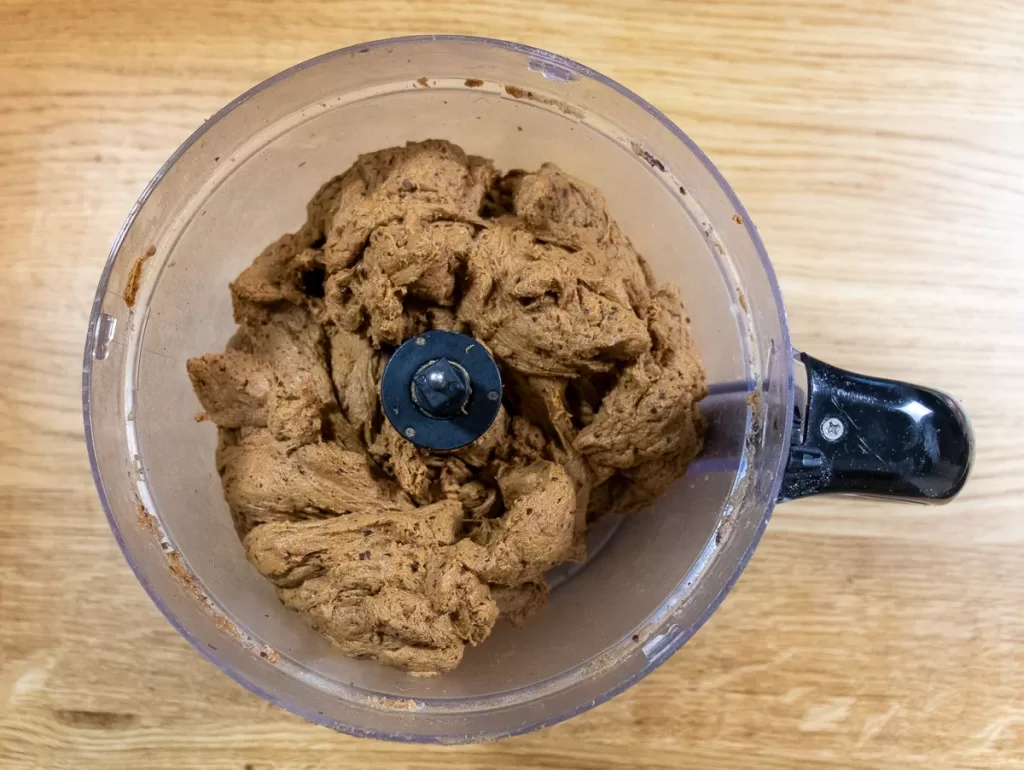
- I often give it a few more pulses, but around this time, it will start to get caught around the blades and force the processor to stop.
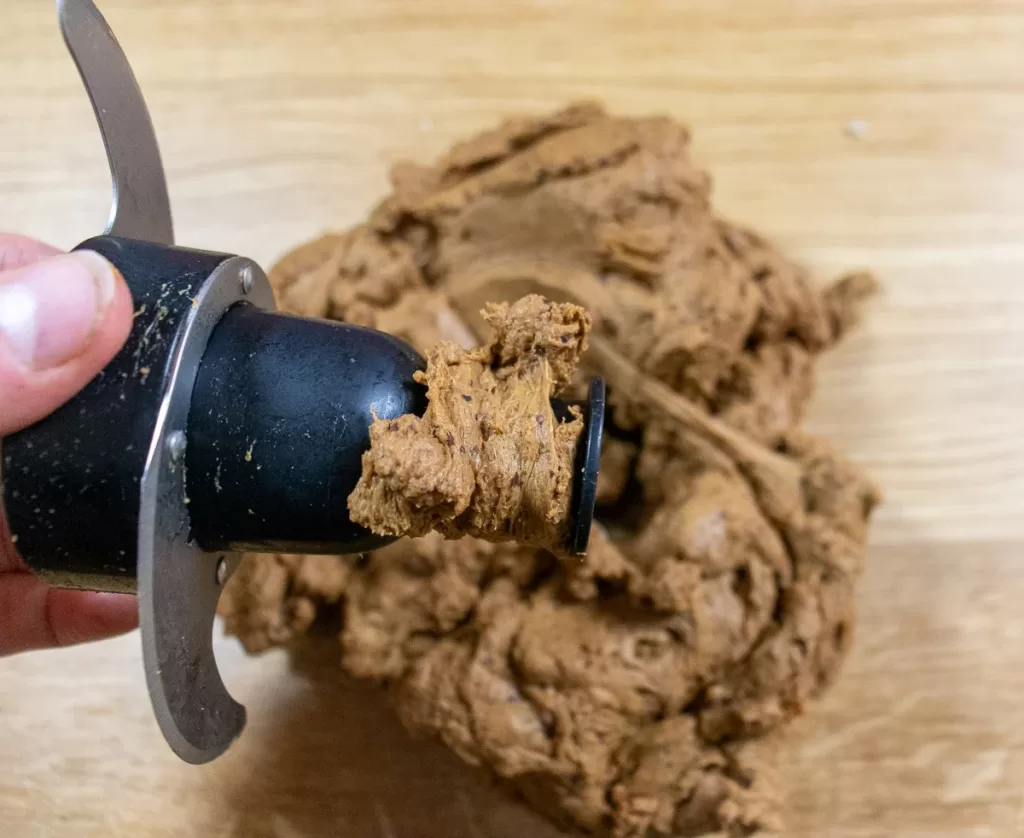
- Turn it out onto the counter and give it a quick kneed just to bring it together.
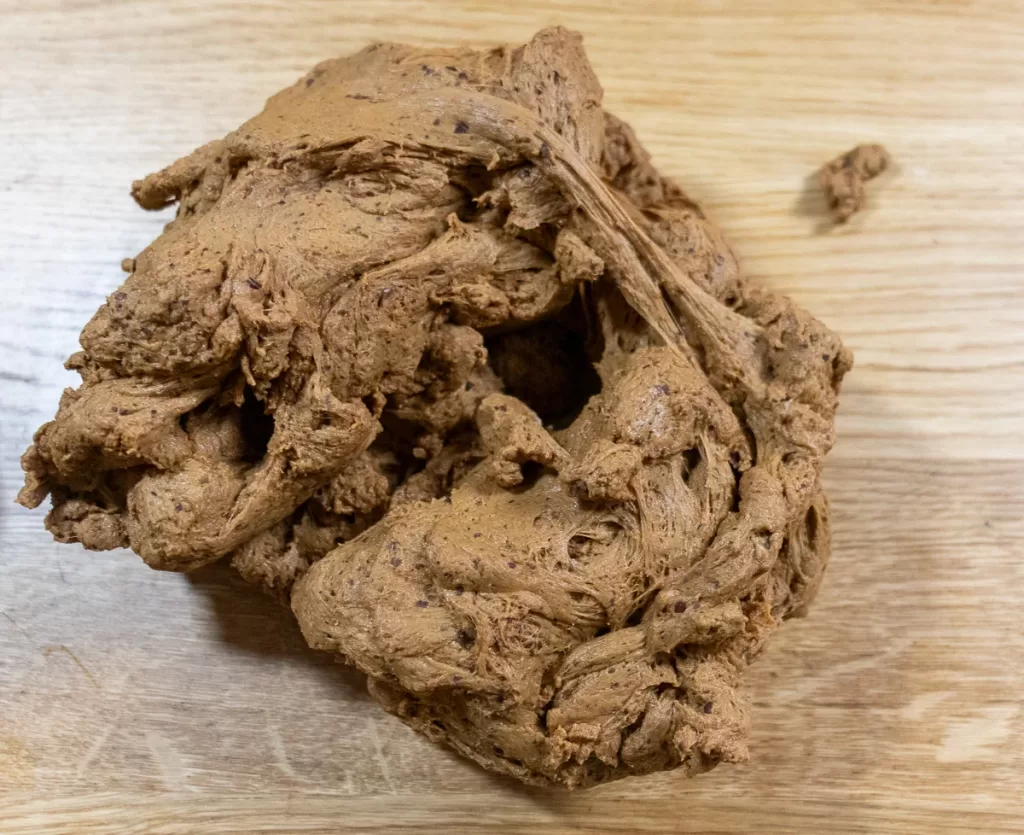
- Now form it into a log shape. Granted, it’s not the most appetising right now. But trust me! It will taste amazing when we’re done.
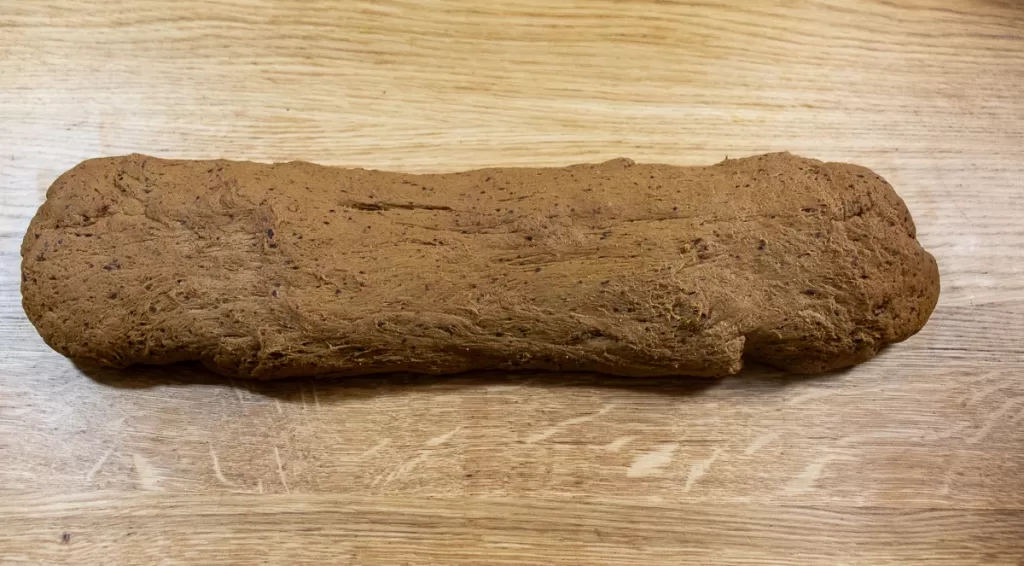
You can go for a more traditional flat bacon shape if you prefer, but I found that it’s harder to wrap it as tightly that way. It’s all going to get cut up anyway, so I think this way gives you the best results.
- Wrap it in a layer of baking or parchment paper. It’s going to try and expand, and this will ruin the texture so as tightly as you possibly can!
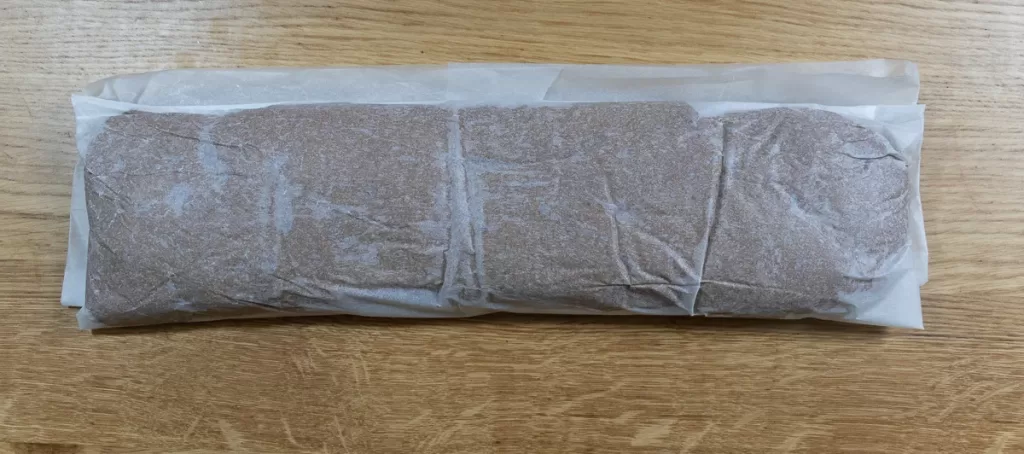
- Now wrap it in a couple of layers of aluminium foil to keep the paper from coming apart when it tries to expand.
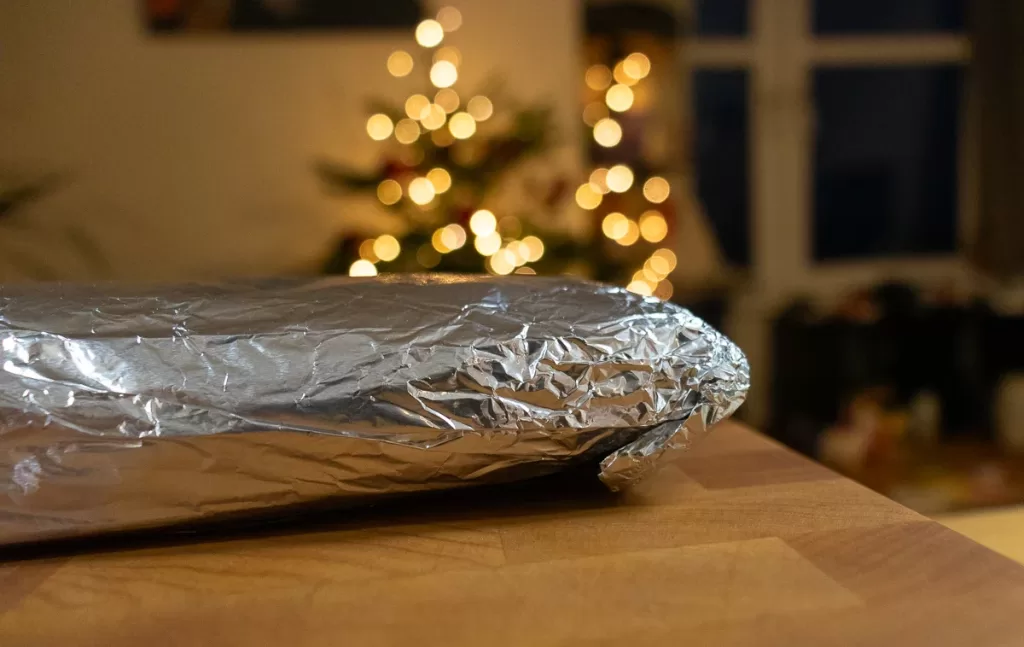
- Add Place it in the centre if an oven at 180c or 350F for 60 minutes. Rotating at least once during that time. Alternatively you can steam it for the same amount of time. It will end up slightly more moist.
- Let it cool without unwrapping it for at least 12 hours! This part is essential. It’s still cooking and the texture will be mushy if you don’t wait long enough. I normally let it cool enough to go in the fridge, then leave it overnight.
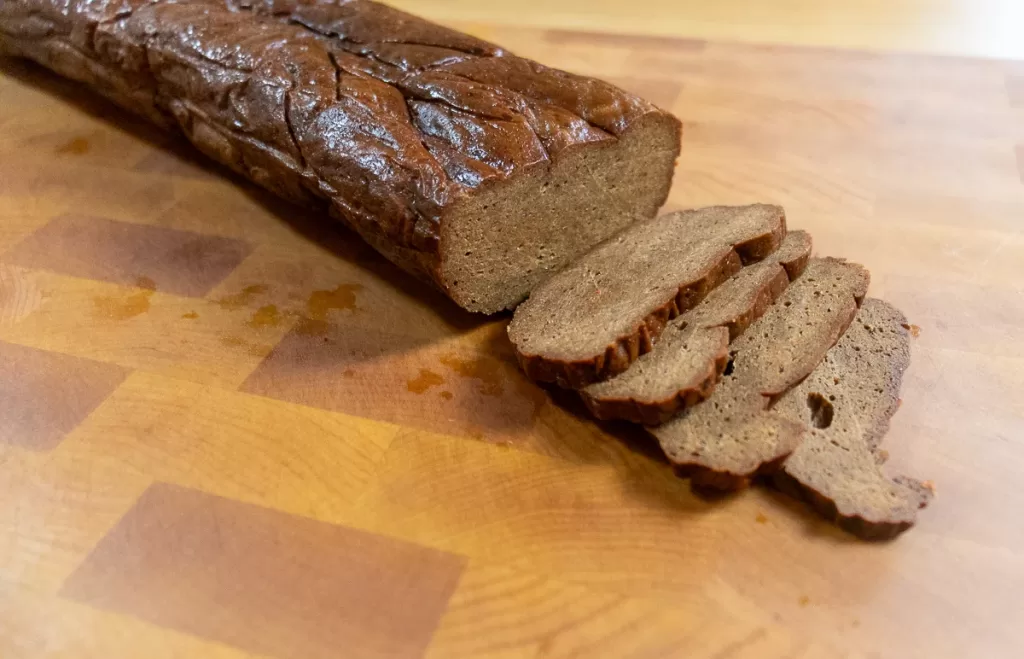
- Now it’s done. Just portion it up for storage and use it wherever you would normally have used any other bacon substitute.
Tips for getting it right!
Make sure you process it enough. It really needs to wrap around your food processors’ blades. These are the gluten strands forming and is vital 😛 to the final product’s texture.
Don’t overwork your food processor! This method is quite hard on it. I have a quite a cheap one but, honestly I think one day it’s going to give in while making this. A good quality processor is recommended if at all possible.
Frequently asked questions
Can you freeze vegan bacon?
Yep! This recipe freezes really well. The quantities I use will make about 8 portions. So I normally freeze half of it as soon as it’s ready. That way I always have some on hand.
What is vegan bacon made from?
You can make it vegan bacon from all sorts. Such as rice paper, coconut flakes or tempeh. But this one (Which I think is the best! Is made from seitan.)
Does vegan bacon have enough protein in it?
Yes, especially when using seitan! Vital wheat gluten has around 75g of protein per 100g [3]. Plus there is a bit more here as I add pea protein in too. Giving about 40g per serving of my recipe.
How to use this vegan bacon?
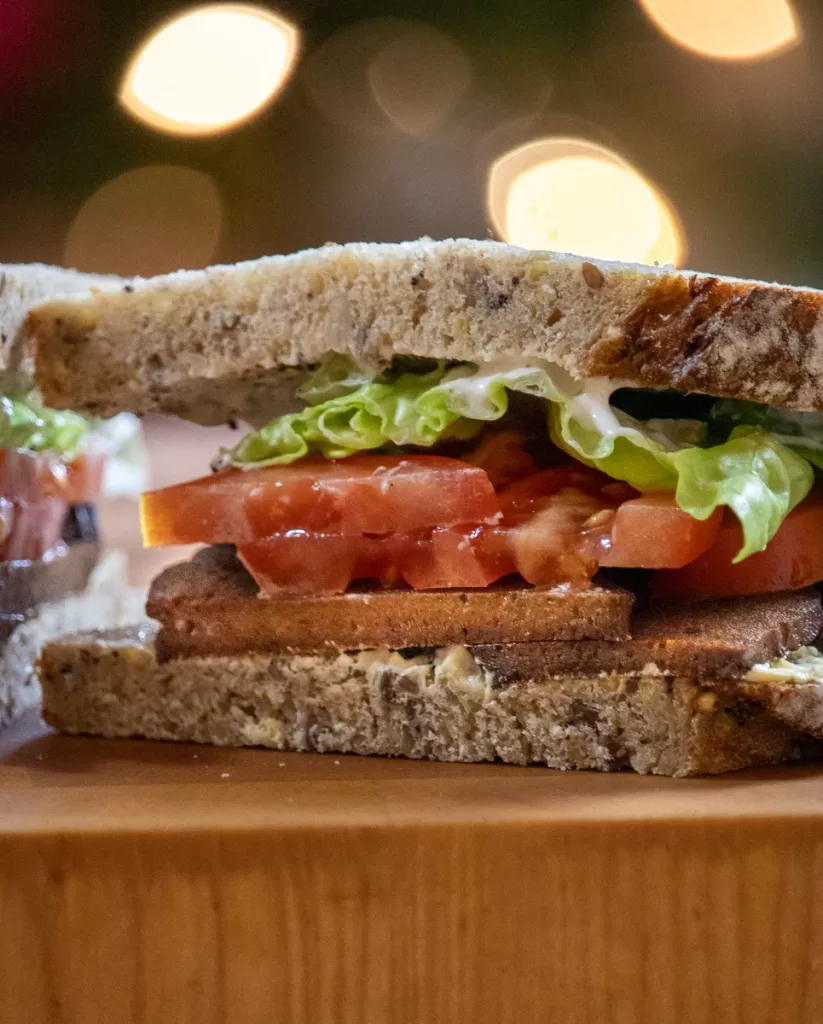
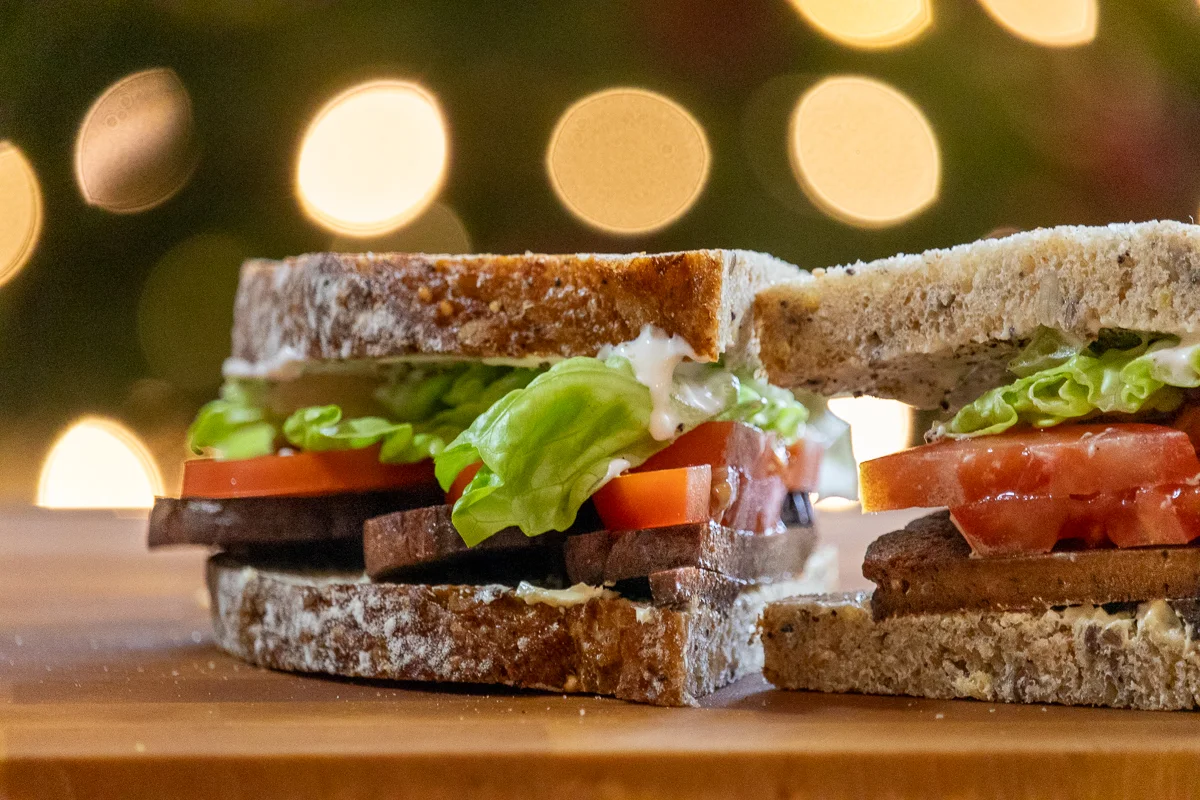
You can use it in all sorts of recipes! I use it as the basis for so many dishes, such as a carbonarish, make a vegan BLT with some of my mayo, or maybe some pasta all’amatriciana. Basically, you can use it anywhere you would normally have used bacon or any bacon substitute. Try adding it to my cacio e pepe or garlic tomato pasta!
Vegan Bacon
Equipment
- 1 Spatula
Ingredients
- 1 tin black beans
- 300 g vital wheat gluten
- 50 g pea protein
- 30 g nutritional yeast
- 2 tsp msg
- 2 tsp salt
- 2 tsp garlic granules
- 2 TSP onion granules
- 2 tbsp smoked paprika
- 4 tbsp soy sauce
- 4 tbsp dark soy sauce
- 2 tbsp liquid smoke
- 170 ml water
Instructions
- Add beans and their liquid to the food processor and blend until smooth
- Add in all the dry ingredients except the vital wheat gluten and pulse until combined
- Now add the vital wheat gluten and pulse gently.
- Now add water in 50g at a time
- When it’s come together as a dough, continue to pulse until you see little fibrous strings form in dough.
- Form the dough into a log shape. Then wrap tightly first in baking paper, then in aluminium foil.
- Bake in the oven for about 60 minutes at 180 degrees Celsius. Or steam for the same amount of time.
- Leave to cool for at least 12 hours before opening.
